Windows 7 provides the ability to pin frequently-used applications to the Taskbar, or Superbar, as it has become known. You can achieve a similar effect in Ubuntu using a Gnome panel plugin, called DockBarX, which allows you to pin, unpin, and launch applications from the panel.
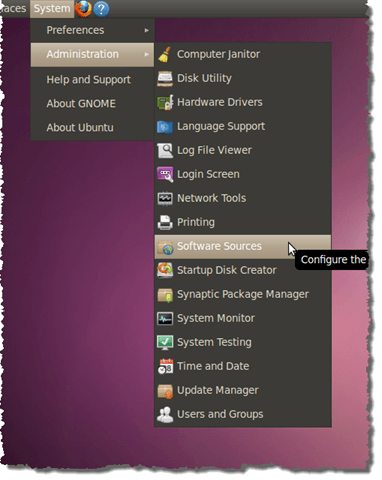
Before you install DockBarX, you must first add the source for the DockBarX package. Select Administration | Software Sources from the System menu.
On the Software Sources dialog box, click the Other Software tab and click the Addbutton.

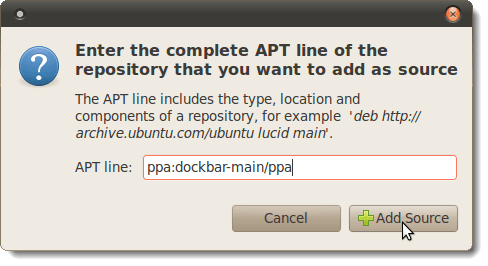
In the APT line of the dialog box that displays, enter the following line:
ppa:dockbar-main/ppa
Click Add Source.
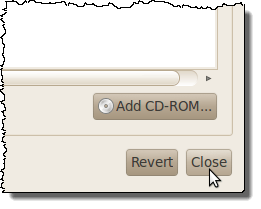
Click the Close button.
NOTE: When you close the Software Sources dialog box, a dialog box may display asking you to reload to get the updated packages in the repository you added. If you see that notice, click the Reload button on the dialog box.
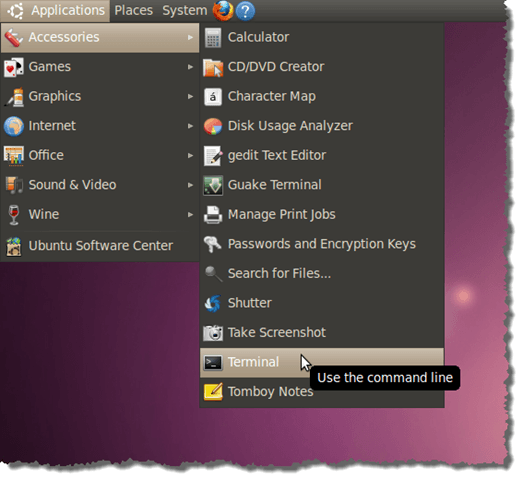
Select Accessories | Terminal from the Applications menu.
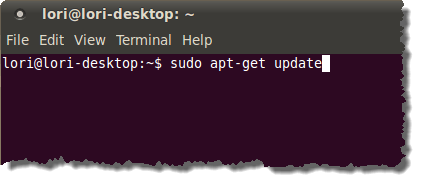
To be sure your repositories are up-to-date, enter the following line at the command line and press Enter:
$ sudo apt-get update
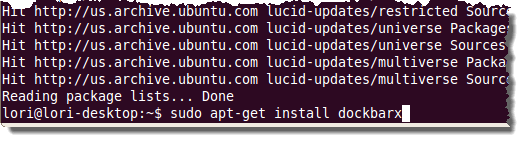
To install DockBarX now, enter the following line at the command line and press Enter:
$ sudo apt-get install dockbarx
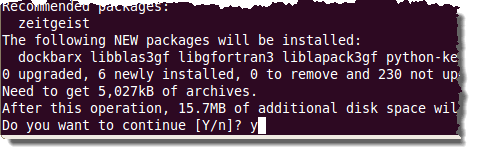
The system determines what packages are needed, tells you how much space DockBarXrequires, and then asks if you want to continue. Press ‘Y’ and then press Enter.
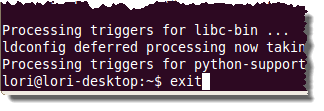
The installation process begins. When it is finished, you are returned to the command line. Type exit and press Enter to close the Terminal window.
Now, we need to add the DockBarX applet to the panel. We added it to our bottom panel to make it seem like the Windows 7 Superbar. You can add it to a different panel, if desired.
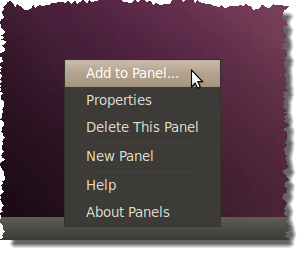
Right-click on the panel and select Add to Panel from the popup menu.
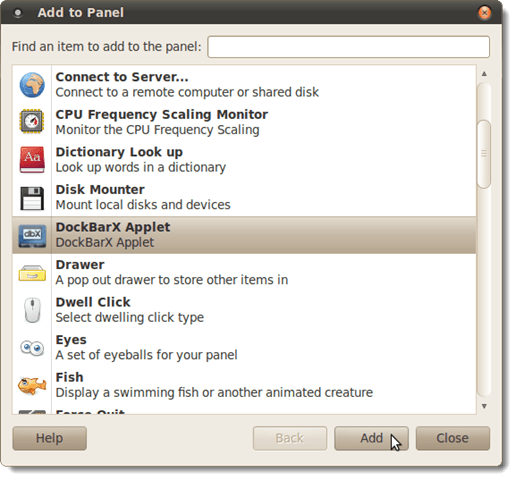
Scroll down in the list and select the DockBarX Applet. Click Add. It is immediately added to the panel.
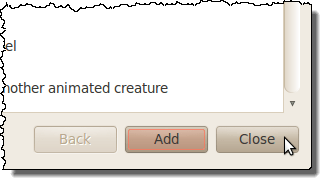
Click Close to close the Add to Panel dialog box.
To give ourselves plenty of room for programs on the bar, we moved it all the way to the left next to the Show Desktop button on the left.
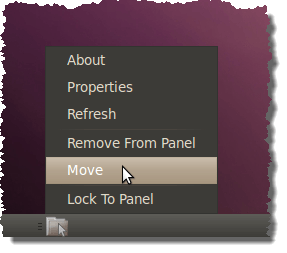
It is rather hard to see the left edge of the DockBarX bar. The easiest way to locate it, is to open a program, such as the File Browser, and minimize it such that it displays on the DockBarX bar. Right-click on the three horizontal bars to the left of the File Browser icon to access the popup menu for DockBarX and select Move. Note that you might have to double right-click to access the menu. DO NOT click again yet. The cursor becomes a hand. Move your mouse to the left and then click when you have the bar where you want it.
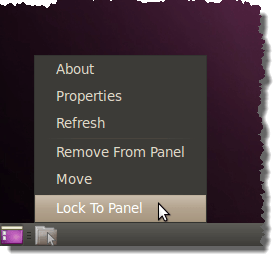
To lock DockBarX in place, right-click on the three horizontal bars to the left of the icon on the bar and select Lock To Panel from the popup menu.
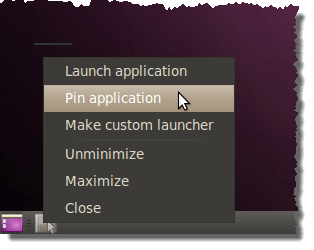
If you want to pin the File Browser, or any other open program, to the DockBarX bar, right-click on the icon for the program you want to pin and select Pin application from the popup menu.
You can now launch the File Browser by just clicking the icon on the DockBarX bar.
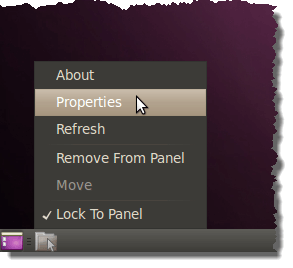
There are many properties you can customize for DockBarX. To access the properties, right-click on the three horizontal bars on the left side of the bar and select Propertiesfrom the popup menu.
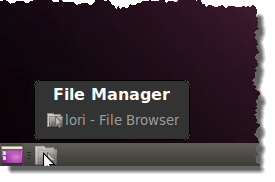
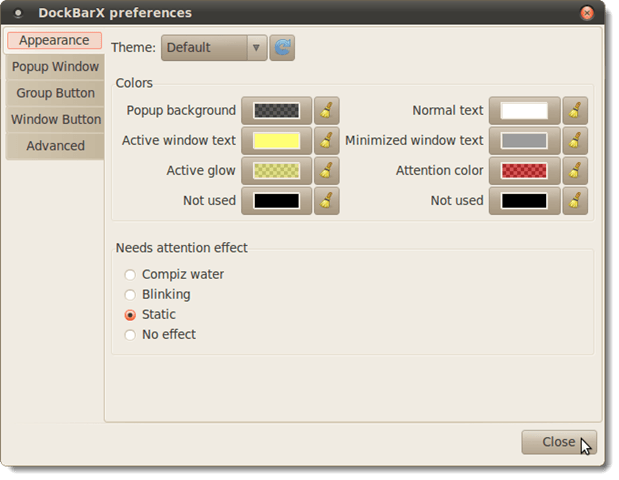
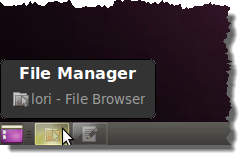
The DockBarX preferences dialog box displays with the Appearance tab active. On this tab, you can select a theme for the buttons on the bar and the colors for various parts of DockBarX, such as the popup that displays when you move the mouse over a button on the bar (see the picture of the mouse over the File Manager icon above). You can also change the effect to be used when an application on the bar needs attention.
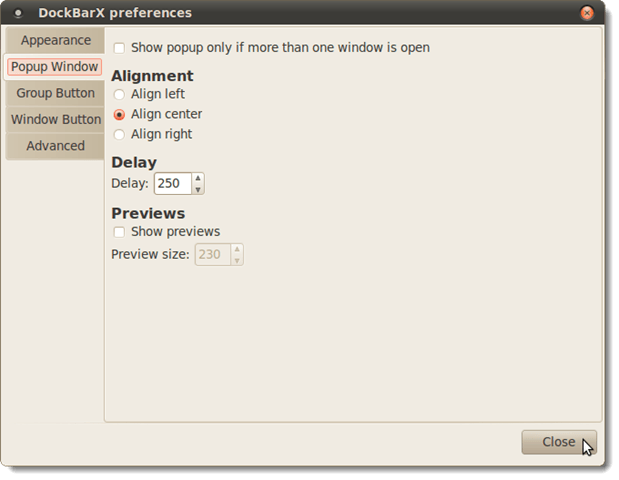
The Popup Window tab allows you to specify the look and behavior of the popup windows. Change the Alignment of the text in the popup, the Delay before the popup displays, and whether Previews are displayed for the applications on the bar. If you only have one application icon on the bar you don’t want to see a popup for only one application, select the Show popup only if more than one window is open check box.
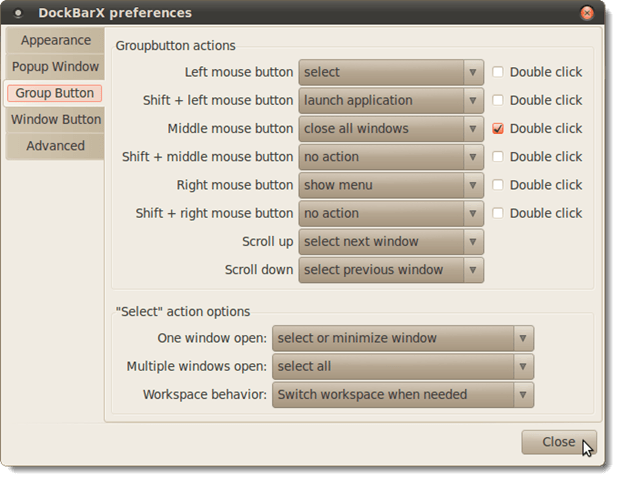
Use the Group Button tab to define the Groupbutton actions for the various key and mouse button combinations listed and the “Select” action options.
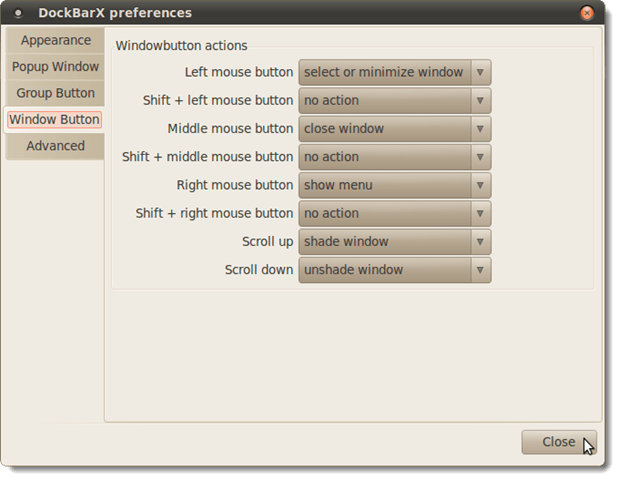
Use the Window Button tab to specify the behavior of the various key and mouse button combinations with regards to the windows for the applications on the bar.
The Advanced tab contains some miscellaneous check box options, the Opacify option, and Global Keyboard Shortcuts you can specify.
Opacify is a way to find a window using the bar. When Opacify is on and you roll over a name in the group list for a window with the mouse, all other windows become transparent so you easily can spot the desired window.
Opacify requires Compiz Fusion and you need to activate the plugin Opacity, Brightness and Saturation in the CompizConfig Settings Manager. Unfortunately, when we turned this option on in the CompizConfig Settings Manager (System | Preferences | CompizConfig Settings Manager), the Opacify option in DockBarX did not seem to work. If you get the Opacify option to work, let us know.
NOTE: If you need to install the CompizConfig Settings Manager, enter the following line at the command line in a Terminal window:
$ sudo aptitude install compizconfig-settings-manager

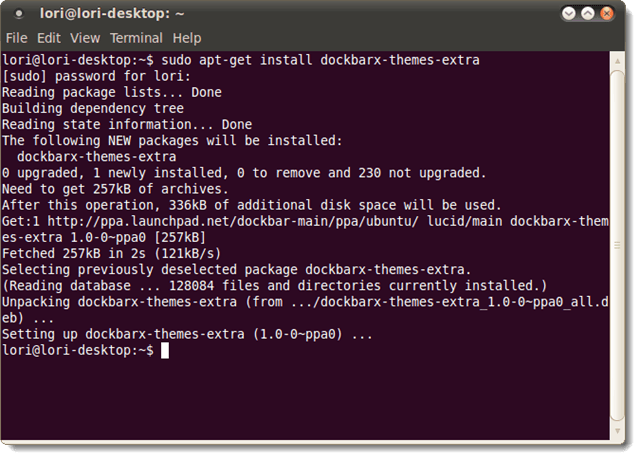
Additional themes are available for DockBarX. To install these themes, open a Terminal window again, type the following line at the command line, and press Enter.
$ sudo apt-get install dockbarx-themes-extra
When the installation is finished, type exit at the command line and press Enter to close the Terminal window.
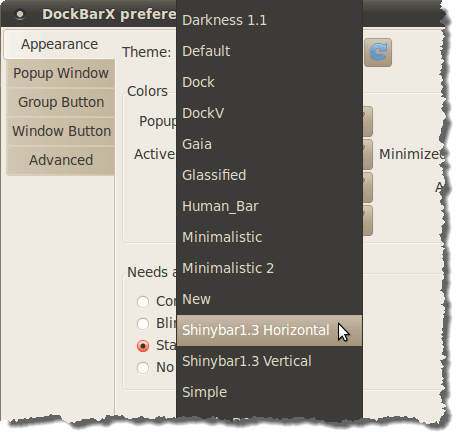
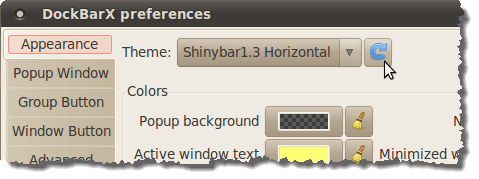
Now, when you go back into the DockBarX preferences dialog box, you will see a lot more themes listed in the Theme drop-down list. We selected the Shinybar1.3 Horizontal theme. It makes the buttons on the bar look like the Windows 7 Superbar buttons.
Once you have selected a theme, click the circular arrow button to the right of the drop-down list. This reloads the theme.
Now, the buttons on the bar have a shiny background bar on them, similar to Windows 7.
Play around with the preferences in DockBarX until you get the bar to look and behave the way you want.


0 comments:
Post a Comment